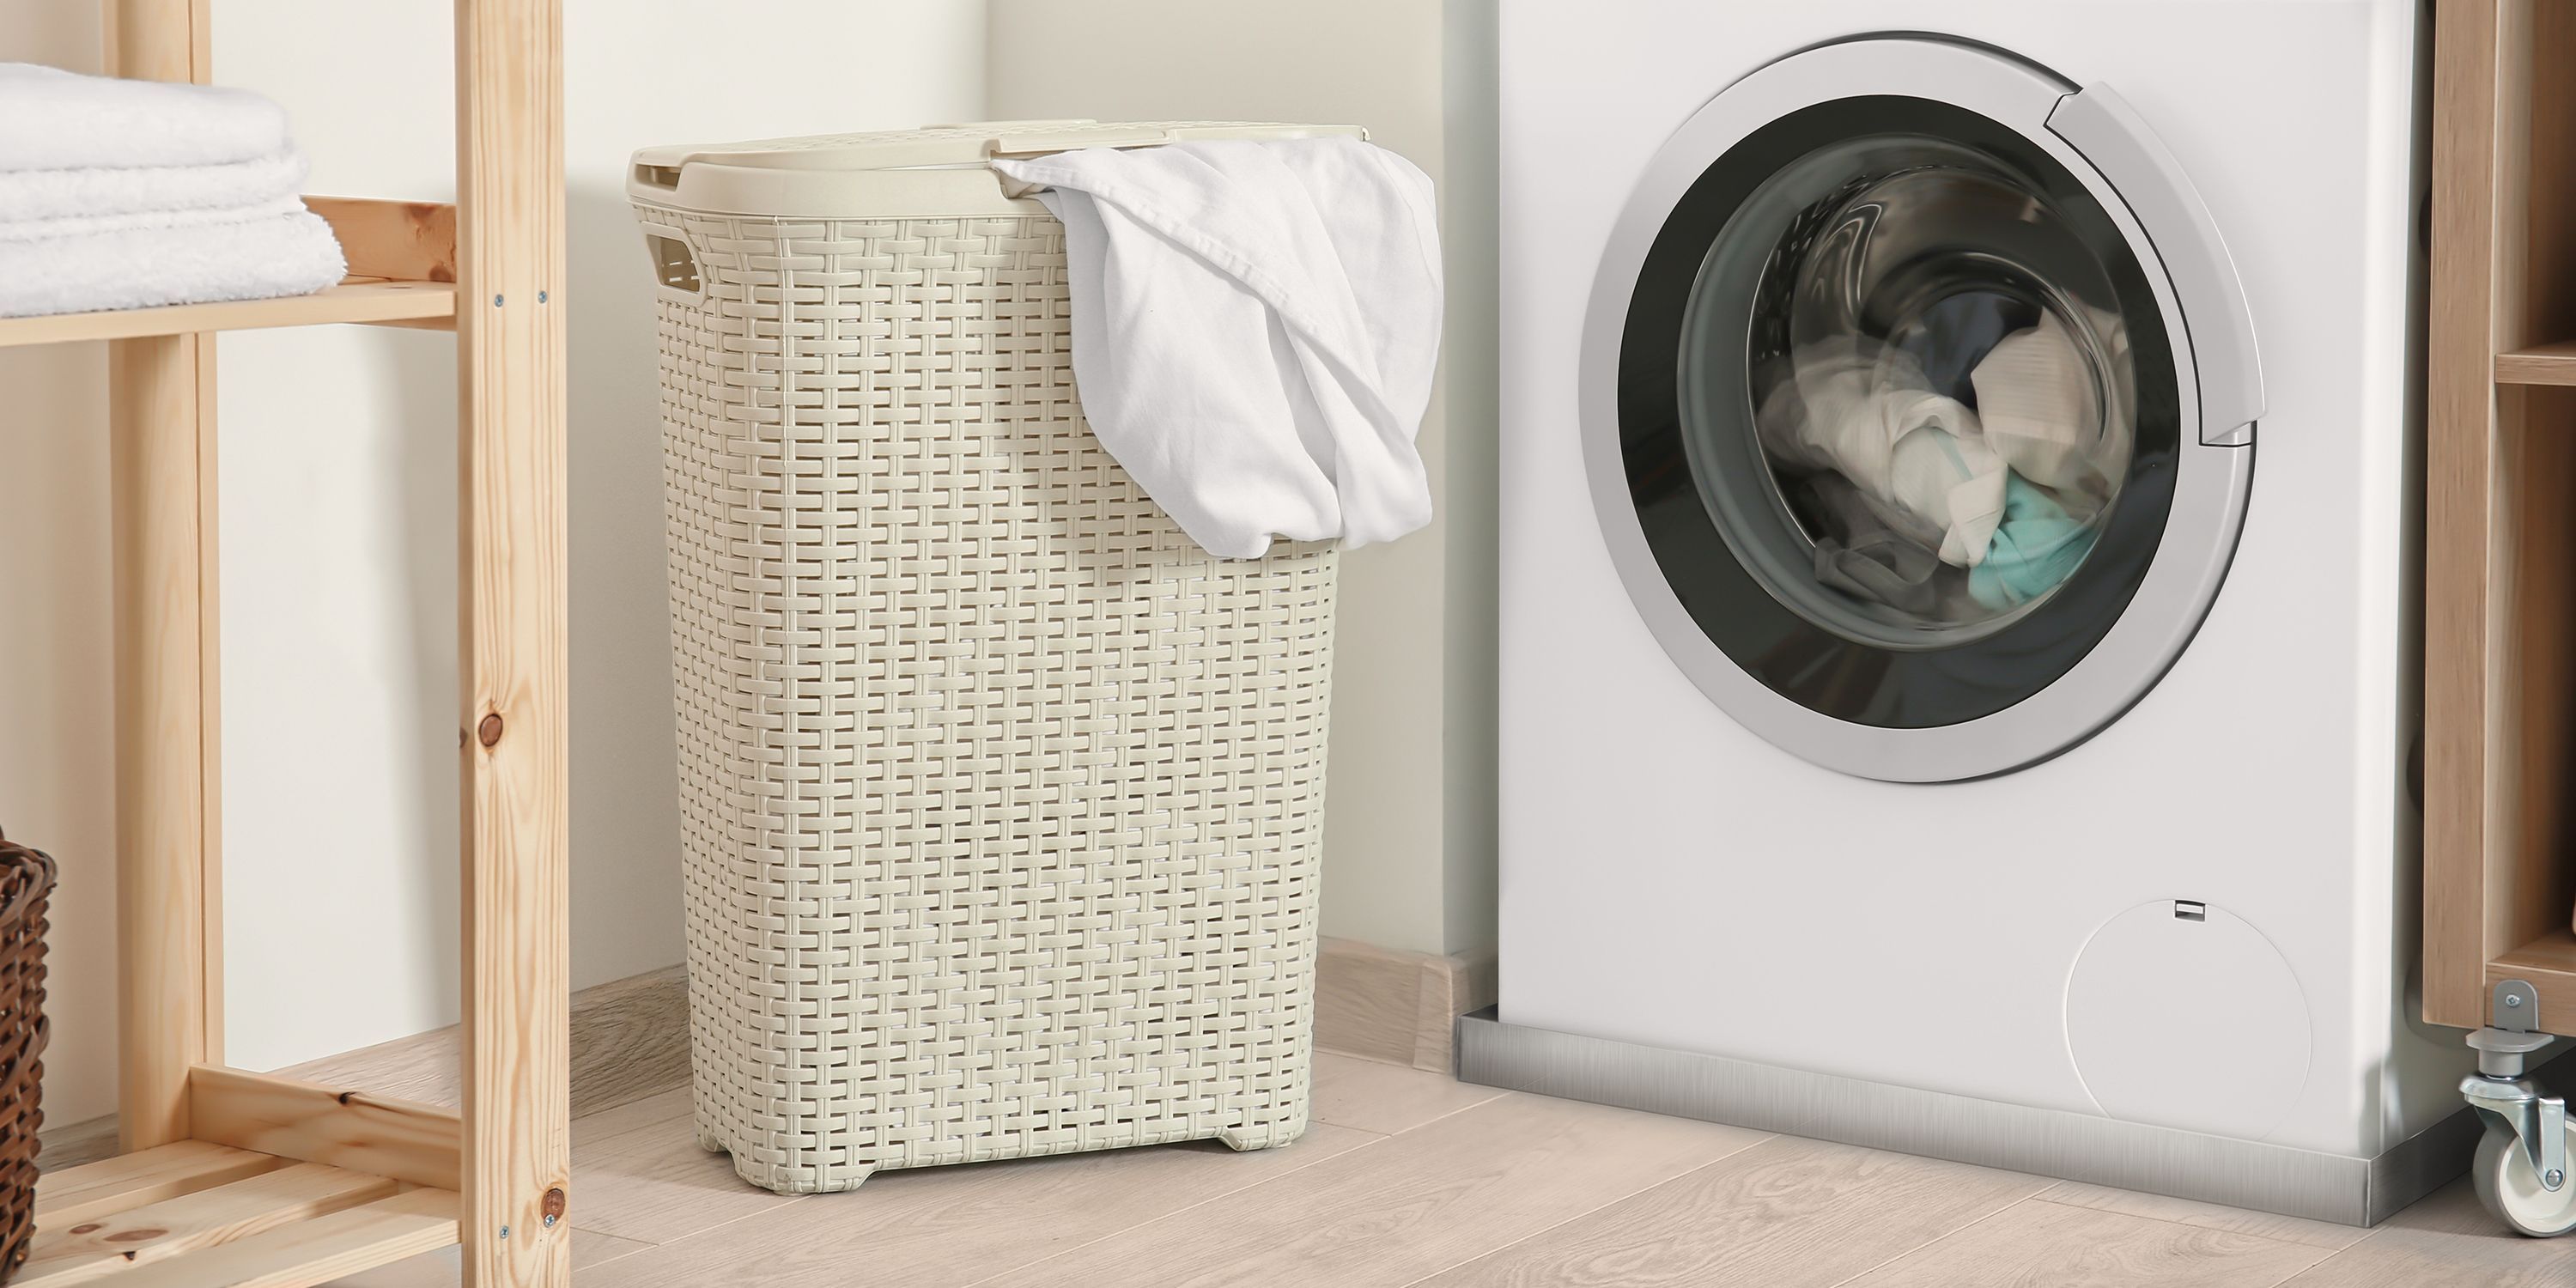
Washing Machine Drain Pan Installation
Now that you have a drip or drain pan, it's time to get it underneath your washing machine. Without help, installing washer drain pans can be a daunting task. We've made this resource to cover a few options - from removing your washer to installing the new pan. First, we'll go over some important things to take note of and how to set up for the installation.
SAFETY
- Lift with your legs, not your back. Most back injuries are related to improper lifting.
- The average weight of washing machines is 180 lbs., with larger washers being upwards of 200 lbs. Know your limits and use appropriate tools (like other helpers) to lighten the load.
- Always be mindful of the washing machine toppling over while in the process of shifting or lifting.
WARNINGS
- Sliding and repositioning your washer can cause scratches and dents on the wall and floor. Protect your hardware and your home by using furniture blankets where applicable.
- Our pans are built strong, but the walls can bend from the full weight of a washing machine. Make sure not to rest the washer on the walls of the pan.
- It's generally advised to never lay a washing machine on its side. Not only can this disrupt the drum alignment, but it can also mess up the washer's transmission.
SETUP
- Refer to your owner's manual regarding the handling of your washing machine unit.
- Empty the contents from the washing machine.
- Shut off the breaker and unplug the washer from the outlet.
- Drain the hose to keep your floor surface dry and safe during installation.
- Tape the loose cords to the back of the washing machine to keep them out of the way.
- Fasten the transit bolts if you plan on significantly tilting the washing machine at all. This will keep the drum aligned.
*Note: These previous steps assume that you will need to move the washer out of its original position to install the pan. If you are simply lifting the washing machine and sliding the pan underneath, you can disregard these steps (as long as the connections have enough slack to allow for this).* - Find a helping hand or two. Moving a washing machine should never be a solo job. Two people are necessary, three people are ideal.
INSTALLATION OPTIONS
Old-Fashioned Lifting
- The simplest method of installing a washer drain pan is using two people on either side to lift it.
- Once they have raised the washer a few inches off the ground, a third person or a spare foot (be careful) can slide the pan underneath.
- Lower the washing machine back down inside the pan. No cords or hoses need to be disconnected, which makes this one of the quicker methods as well.
Forearm/Waist Straps
- These straps are more ergonomic for lifting heavy objects, minimizing back injuries. They utilize leverage to reduce the force required to lift the object.
- Tilt the washer back slightly to run the straps underneath.
- Have two people on opposite sides place the straps around their forearms/waist.
- Lift the washing machine up and slide the pan underneath.
- Lower the washing machine onto the pan, and remove the straps from underneath.
2x4 Walking
- Move the washer out of the way using a previous method or by shifting it corner by corner, and place the pan where desired.
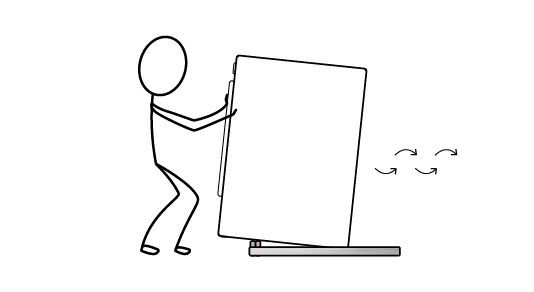
- Attach two 2x4s together and place them inside the pan along the front edge, with the wood protruding above the height of the pan lip (as shown below).
- Walk the washer up to the pan. Tilt the washer back towards you and walk it over the pan until the 2x4s are at about half of the depth of the washer.
- Now tilt the washer back the opposite direction and continue to walk it towards the back of the pan.
- Once the washer is completely encompassed by the pan, tilt the washer back enough to remove the pieces of 2x4.
- Lower the washer back down and center it in the pan.
2x4 Ramp
- Move the washer out of the way using a previous method or by shifting it corner by corner, and place the pan where desired.
- Get 5 pieces of 2x4 wood planks. Attach three together to create an I beam (as shown below).
- Place the I beam up against the pan. Use the other two planks as a ramp on the middle section of the I beam.
- Lift the washer onto the ramp and shift it up towards the middle of the beam.
- Continue sliding the washing machine over the other side of the ramp, down to the pan. The beam should be tall enough so that the ramp doesn't interfere with the wall of the pan when maneuvering the washer.
- Once the back edge of the washing machine is in the pan, slide the 2x4 ramps out from underneath, gently lowering the rest of the washer into place.
Hire Professional Movers
- This option may seem a bit extreme for simply adding a drain pan under a washing machine, but it may be the only option for some people.
- If you have no help from friends and no means to do it alone, hiring movers can be a reasonable solution. Especially if you have multiple jobs that the movers can do to make it worth the cost of hiring them.
- Apps like Handy are perfect for hiring movers and handymen.
- Have the movers use whatever method they usually do when moving large appliances, making sure they don't harm the walls of the pan in the process.
ADDITIONAL NOTES
- Always check that the washer is leveled after installing your drip or drain pan. Use the feet of the washer to adjust as needed.
- Add Anti-Vibration Pads to the bottom of the pan to reduce vibration and walking of the washing machine and pan.
- Use our Front-Load Washer Pans, made with shorter front walls, to better utilize features from front-load washing machines.
THE ULTIMATE SOLUTION?
At Killarney Metals we are always trying to innovate and create products that are simple, but effective. One of our newest innovations is the open front trench drain pan - allowing you to easily slide your washing machine right onto it, with the same effective spill containment as our other pans. Some extra installation will be required, but the end result can't be beat.