How To: Insert Drain Connection On Drain Line For Residential Spill Containment
If you have an appliance that utilizes or stores water, you may desire a draining solution to protect your home from leaks and spills. At Killarney Metals we offer drain pans for any application you can think of as well as a selection of drain fittings to match. When you are ready to install a drain pan, there are specific steps you will need to take to ensure a secure and proper fit.
First things first, you will need to tie into a drain line if you haven’t already; the water has to flow somewhere! We suggest referring to your local plumber when attempting to tie into an existing drain line.
When planning a new home construction, keep future drain locations in mind when the initial drain line is being installed. You can create sections coming off from that line at locations such as where the washing machine will go. Cap those sections until you need to use them later on.
When a connection to the drain line is established, you will then want to gather all necessary materials for the drain pan installation process. Essentially, the goal is to connect the PVC fitting from the drain pan to the pvc fitting that ties into the drain line. Here is what you will need to successfully install a drain pan to a drain line:
- PVC Pipe (long enough to bridge the gap from fitting to fitting)
- PVC Cutting Tool (options reviewed in detail below)
- PVC Primer & Cement/Glue
- Deburring Tool
Use PVC piping that can be cut down to fit between the two fittings. This piping should also be the right diameter for the fittings. You may need an adaptor to achieve the correct connection between the two ends.
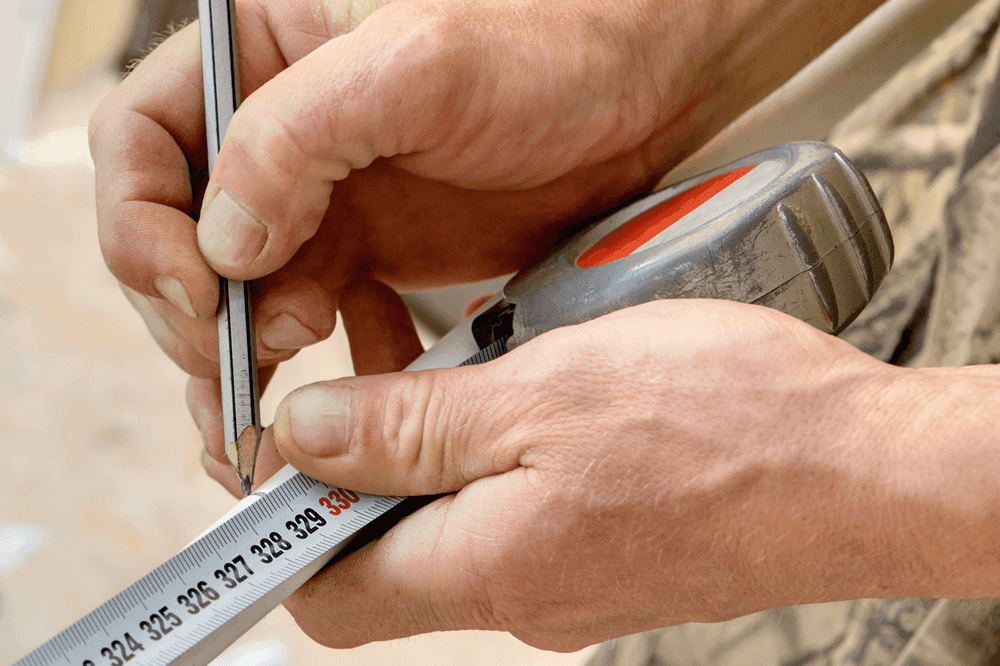
Mark where you plan to cut the pipe for the desired length.
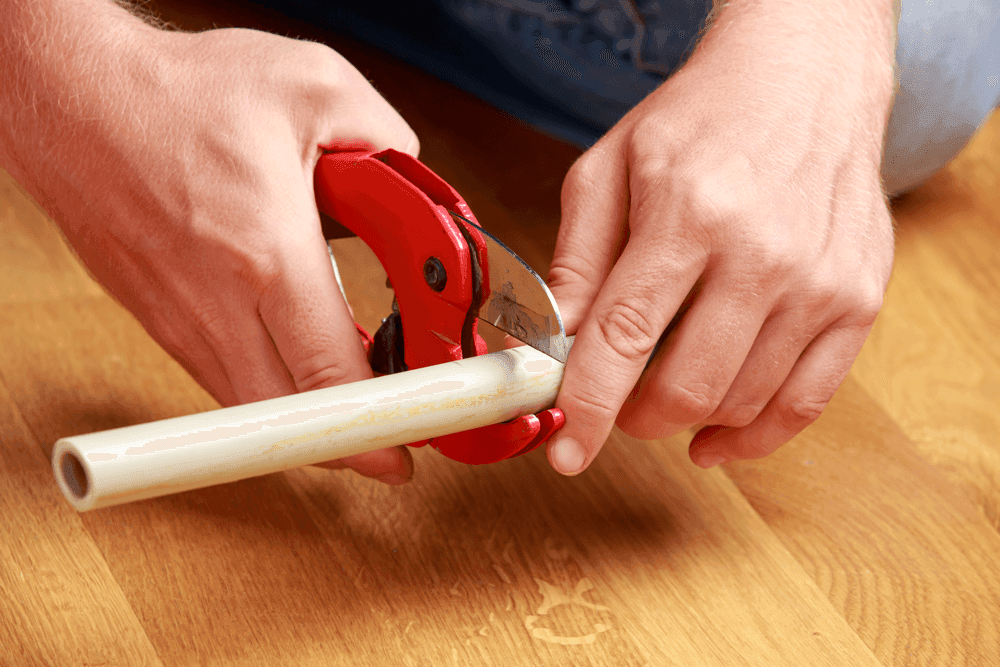
You have a few different options when attempting to cut the PVC pipe to length. There are tools designed specifically for this application, aptly named “PVC Cutters”. A ratchet-style PVC cutter will grip the diameter of a pipe while a blade is gradually pressed down into the pipe from each clench of the handle. A scissor-style PVC cutter will penetrate as you rotate it around the pipe. The result is a smooth (and square) cut. Hand miters and electric miters will also do the job, but they are more likely to leave burrs. Make sure that the pipe is secured in a vice or clamp of some sort when using a miter. We do NOT recommend using a table saw, band saw, or wood saw for cutting into a PVC pipe.
After you have made the cut, use a tool to remove the unwanted burring that may have occurred during the cut. Again, there are tools designed for this very purpose that will allow you to deburr the internal and external edge of the pipe. These deburring tools come in many forms. The end result should be a smooth surface that will sit flush against the inside of the PVC fittings. Using a utility/hobby knife or smooth file can also accomplish this goal.
It may also be beneficial to wipe down the pipe near its ends to remove loose particles that could cause an incomplete seal. Remember, the purpose of all this setup and these steps is to create a secure, leak-free bond between the pieces of PVC that are being joined. Failing to do so will mean your investment in a drain pan will be for naught.
Proceed to test fit the PVC pieces you plan on joining. Make sure the fit is snug and flush before moving ahead.
**The next few steps will need to be accomplished in quick succession and repeated for each connection you make. Have all necessary materials standing by at the ready when you begin.

Apply PVC primer to the outside of the male end and the inside of the female end of the two pieces you are joining. Most primers and cements come with a dauber attached to the lid. This primer will usually come in a purple color for plumbers to visibly see if connections have been primed sufficiently. Liberally apply the primer about an inch deep, starting from the edge. Continue to apply the primer in a circular motion around the pipe, building it up in multiple layers. The purpose of this primer is to “soften” the PVC material at a molecular level, allowing the cement/glue to bond the joint by fusing it together. This primer only works while it’s wet, so be ready to apply the cement immediately after.
Use the dauber from the PVC cement container and apply the cement in the same way as the primer.

Next you will join the two pieces together. Insert the male end into the female joint and twist about 90 degrees. Maintain pressure on the joint for at least 30 seconds to prevent the two pieces from forcing themselves apart.
Once you have a connection from your drain pan fitting to your drain line fitting, you’re all set! Allow the bond to seal before attempting to test water drainage. Place your appliance in the drain pan and let your worries float away. This is what the end result may look like for a washing machine drain pan installation: https://youtu.be/BzGuKn_e0Tc?t=69
For any questions regarding your specific application, don’t hesitate to contact us