How To Install An Under Sink Rubber Mat
What’s the only thing worse than a leaky sink? A leaky sink that damages the cabinets and floors beneath it! From kitchens to bathrooms, the addition of an under sink rubber mat can prevent costly damage caused by a dripping sink.
Best of all, the installation of an under sink rubber mat is a breeze. Read on to learn everything you need to know about fitting and installing an under sink rubber mat.
Why Sinks Leak Underneath
Sinks are one of the most-used areas in the home, and as anything subject to extensive use, wear-and-tear problems are common. For example, in the kitchen, we are constantly washing dishes and filling glasses. Meanwhile, in the bathroom, we are frequently washing our hands and brushing our teeth.
After a while, continued use degrades components in our sinks, causing them to leak into your cabinets. Here are a few of the main culprits of sink leaks:
Drain leaks: Old plumber’s putty or loose nuts can cause leaks originating from the drain.
Loose water supply connections: A failed gasket or corrosion can cause a leak at a water supply connection point.
A clogged P-trap: A P-trap is the curved bit hidden under the sink that prevents smells from coming back up through the drain. Bits of food and debris can build up here, causing a leak.
Worn-out washers: Old washers can fail after continued friction.
While in some instances, you may need to call a plumber to repair your leaky sink, being able to identify the issue quickly can mean the difference between a simple washer replacement and a massive project.
For these sink problems and more, having an under sink rubber mat will alert you of a leaking sink and prevent additional damage in the meantime.
Why You Need an Under Sink Rubber Mat
While an under sink mat cannot fix your sink for you, it will prevent any of these leaks from completely ruining your floor or cabinets. Often slow leaks go unnoticed for a while, and having a mat to catch any drips can be a lifesaver.
Not only does having a high-quality rubber mat installed under your sink protect you from thousands of dollars in water damage, but you are also able to spot leaks sooner. Instead of seeping into the cabinet below, water will pool onto the mat, where you will notice it.
A rubber under sink mat also serves as an excellent storage pad for any cleaning products you commonly keep under your sink. Ironically, cleaning products can make a big mess in our cabinets. However, cleaning this storage area can be as simple as wiping down your mat!
Tools Needed to Install an Under Sink Rubber Mat
All you’ll need to install your under sink rubber mat is a tape measure, scissors or box cutter, and a bit of time! Since you want to ensure your mat perfectly fits your under sink cabinet, you may need to cut it to size. Remember to measure twice, cut once!
Preparing To Install and Under Sink Rubber Mat
You will want to clear out anything stored in your under-sink cabinet. For example, this is the perfect time to get rid of any old cleaning products or stinky sponges that have been long forgotten.
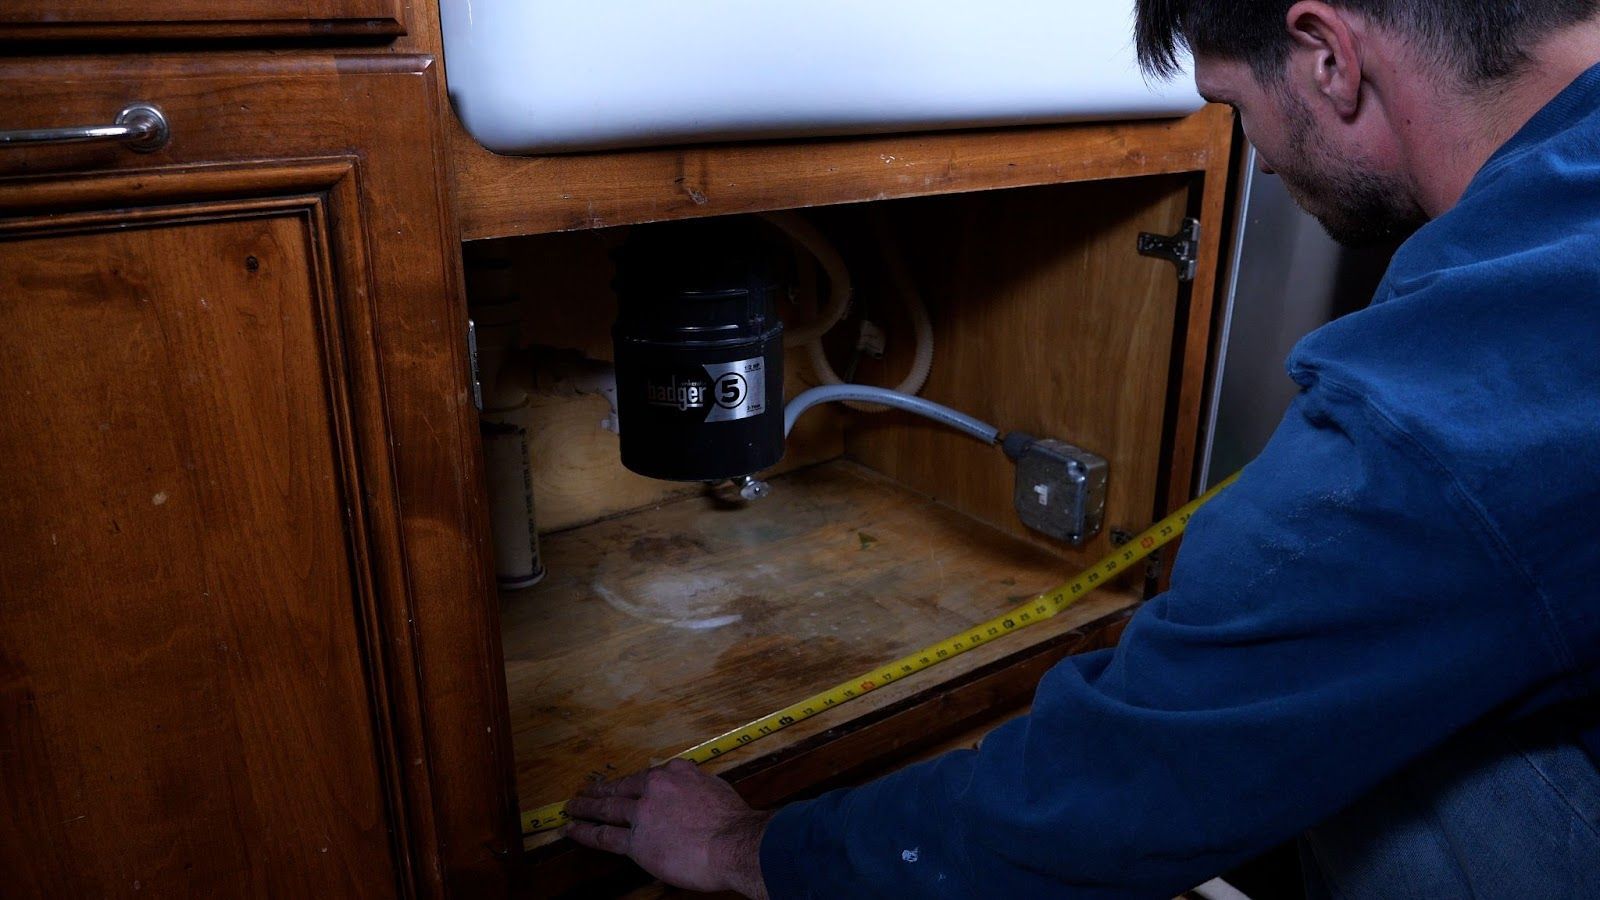
Sizing an Under Sink Rubber Mat
Then you start by measuring the width and depth of the cabinet under your sink. Your new under sink rubber mat will come as a standard size large enough to fit most under-sink cabinets, and you may need to trim it down to fit yours. Measuring your cabinet then marking your mat can help as a guideline to maximize precision.
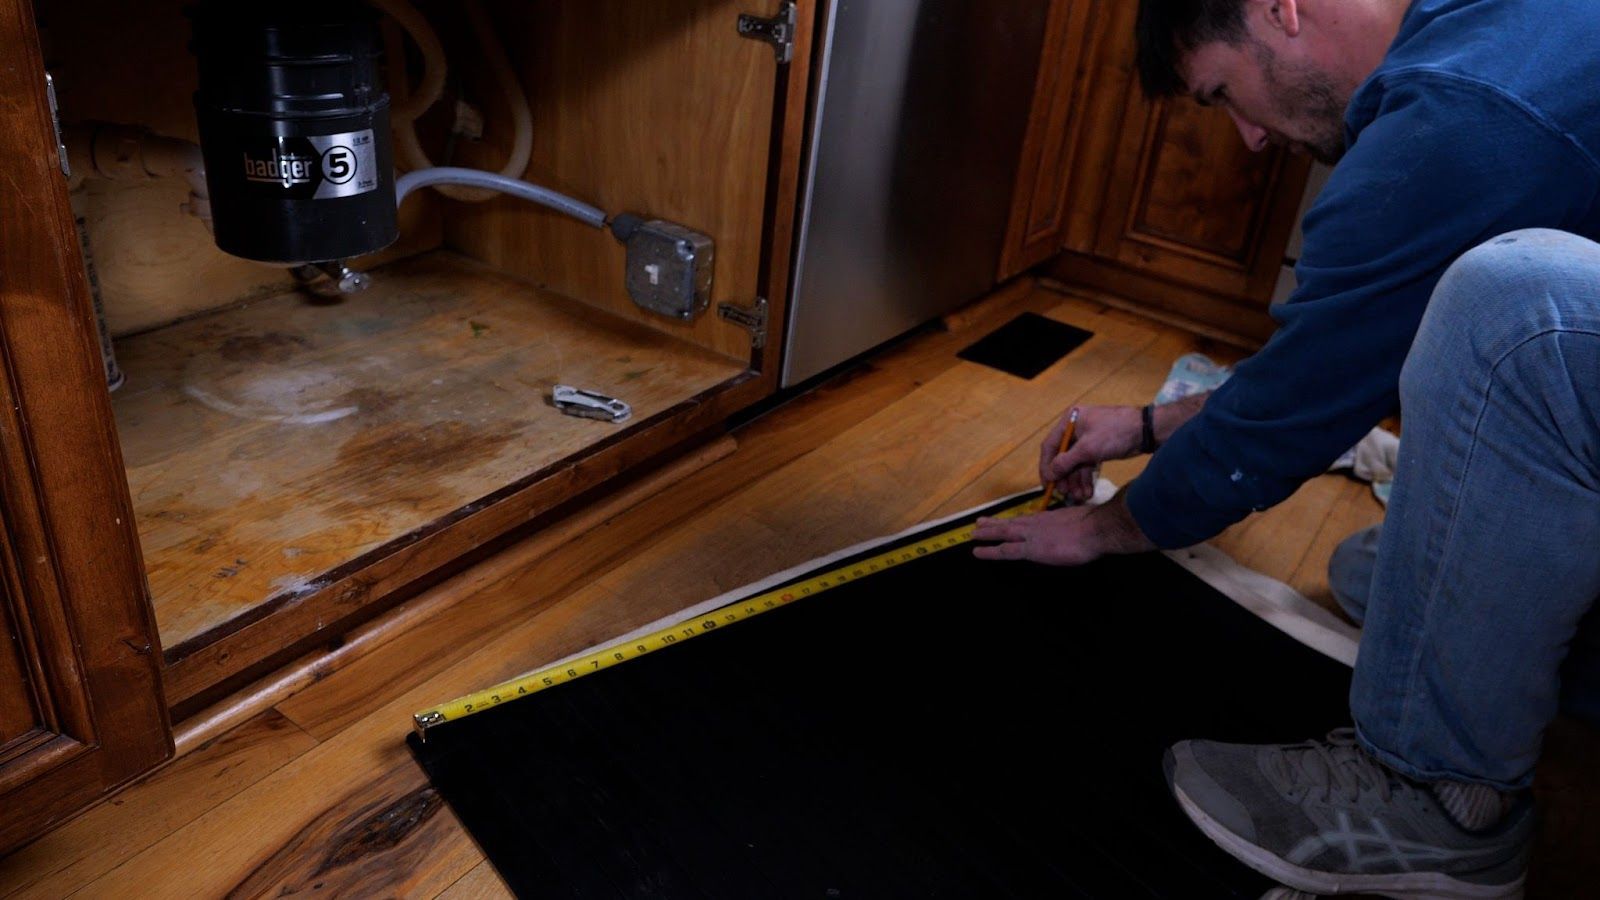
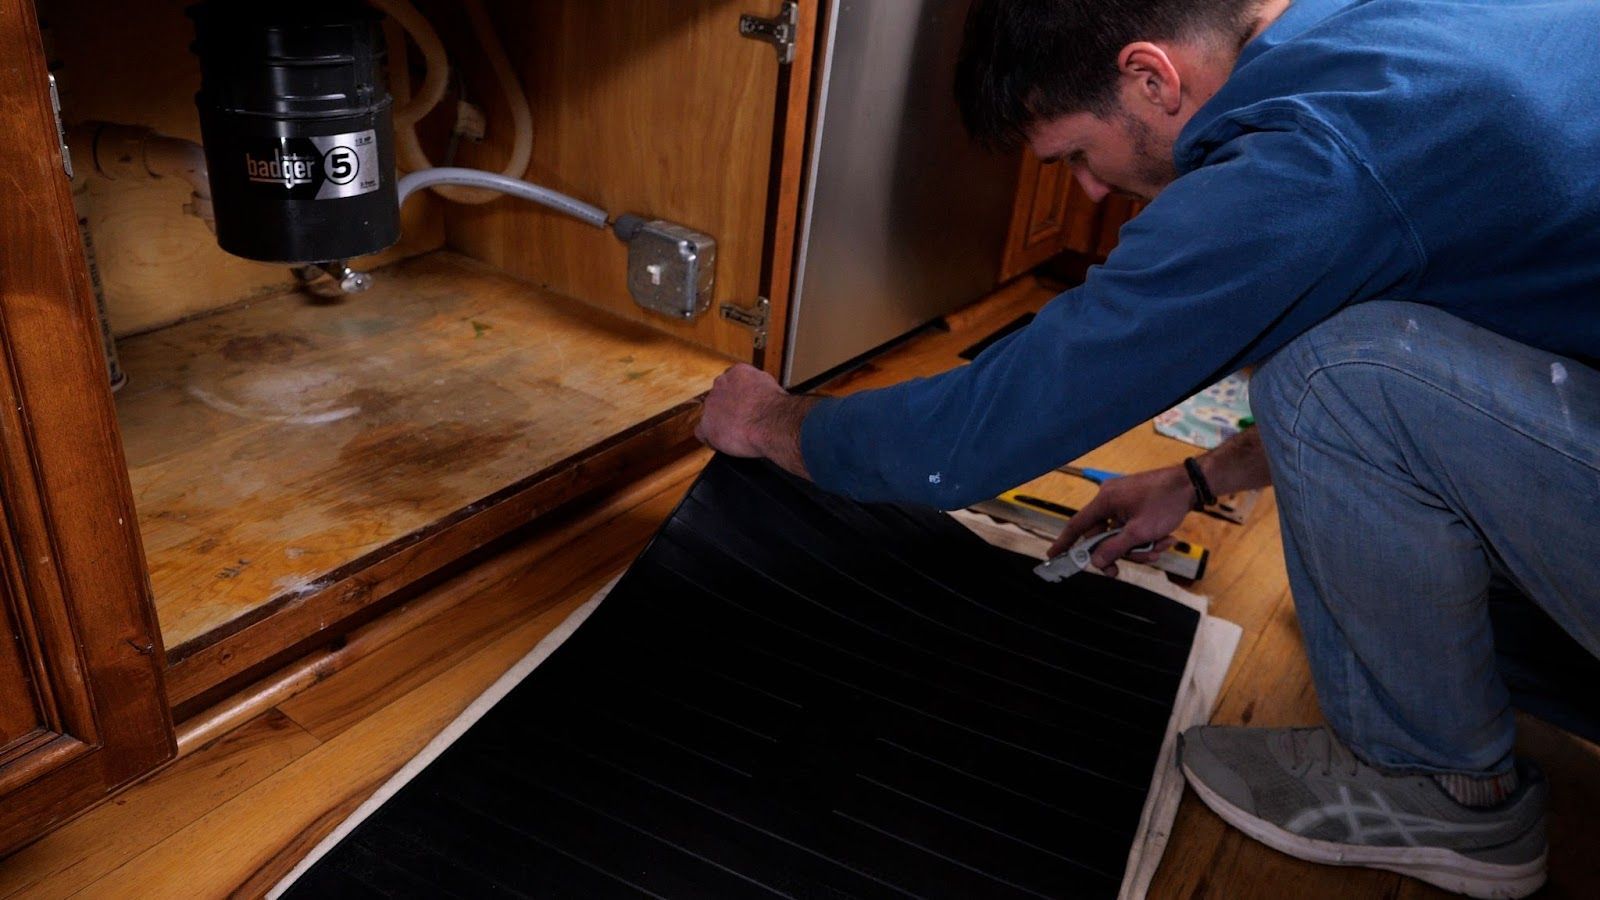
Once you’ve confirmed the dimensions of your cabinet, you can go ahead and use scissors or a box cutter to cut your mat to fit that width and depth.
Fitting an Under Sink Rubber Mat Around Pipes
Many sinks are designed with a pipe that goes down into the floor of your cabinet. If this is your setup, measure the location of the pipe. Then mark this spot on your mat to correspond with where the pipe enters the floor. You can also make a mark from this spot to the back edge of the cabinet.
Then you will want to cut a slit along this line, from the pipe’s location to the back of the mat. You will also want to cut out a hole slightly smaller than the diameter of the pipe. This small hole will ensure the mat fits snugly around the pipe.

Feel free to try slipping the mat into the cabinet and adjusting your sizing as necessary for an easy fit. If in doubt, cut conservatively. You can always remove bits of mat but can’t reattach once you’ve cut.

Installing an Under Sink Rubber Mat
Once your rubber mat has been adjusted to fit under your sink, you can go ahead and install it into your empty cabinet. Then, just slide it into the bottom of your cabinet, and you’re good to go!


You can also apply caulking to the edge seals and around any floor pipes. This caulk application will prevent your mat from slipping and reduce the risk of water seeping under the mat.

Now that your under sink rubber mat has been installed, return any items you keep under your sink to their proper storage place.


Congratulations! You have now successfully installed a new under sink rubber mat. Now you have an excellent warning sign to any plumbing leaks and are protecting yourself from spending thousands on unexpected water damage repairs.
Under Sink Rubber Mats by Killarney Metals
At Killarney Metals, our high-quality under sink rubber mats are made in the USA. Easy to clean and care for, these heavy-duty mats are sure to protect your cabinets and floors from sink leaks for years to come.
Not only that, the Under Sink Rubber Mat by Killarney Metals is quick and easy to install with this handy guide and accompanying video!